
Why Cable Order Matters
Jump-starting a car is one of those tasks that looks simple but has a specific logic behind its sequence. Car batteries produce hydrogen gas as a byproduct of their chemical reactions. Connecting cables in the wrong order - or placing that final ground clamp directly on the dead battery - creates a risk of sparking right next to that gas. Following the correct order moves the connection point away from the battery and makes the process significantly safer.
Understanding the basics of what a battery does in your car also helps here. The battery delivers the burst of electricity needed to crank the engine - after that, the alternator takes over to keep everything running. For a deeper look at that relationship, see how the alternator works alongside your battery.
Never Touch Cables to Each Other While Connected
Once jumper cables are attached to any battery terminal, never allow the clamps to touch each other or contact the wrong terminal. Sparking near a battery can ignite hydrogen gas that batteries naturally emit. Work deliberately, keep the free clamps apart, and complete each connection before moving to the next.
Before you begin, review what you'll need:
What you will need
Jumper Cables
Transfer electrical current from the charged battery to the dead battery to enable starting.
Work Gloves
Protect hands from battery acid residue and accidental sparks during connection.
Safety Glasses
Shield eyes from any sparks or battery gas that may be present near the terminals.
Step-by-Step: The Safe Jump-Start Sequence
Let the Engine Run Before Attempting a Start
After connecting the cables, let the working vehicle run for two to three minutes before trying to start the dead car. This allows a small amount of surface charge to transfer across, giving the flat battery a better chance of cranking the engine on the first try.
Position the vehicles and turn everything off
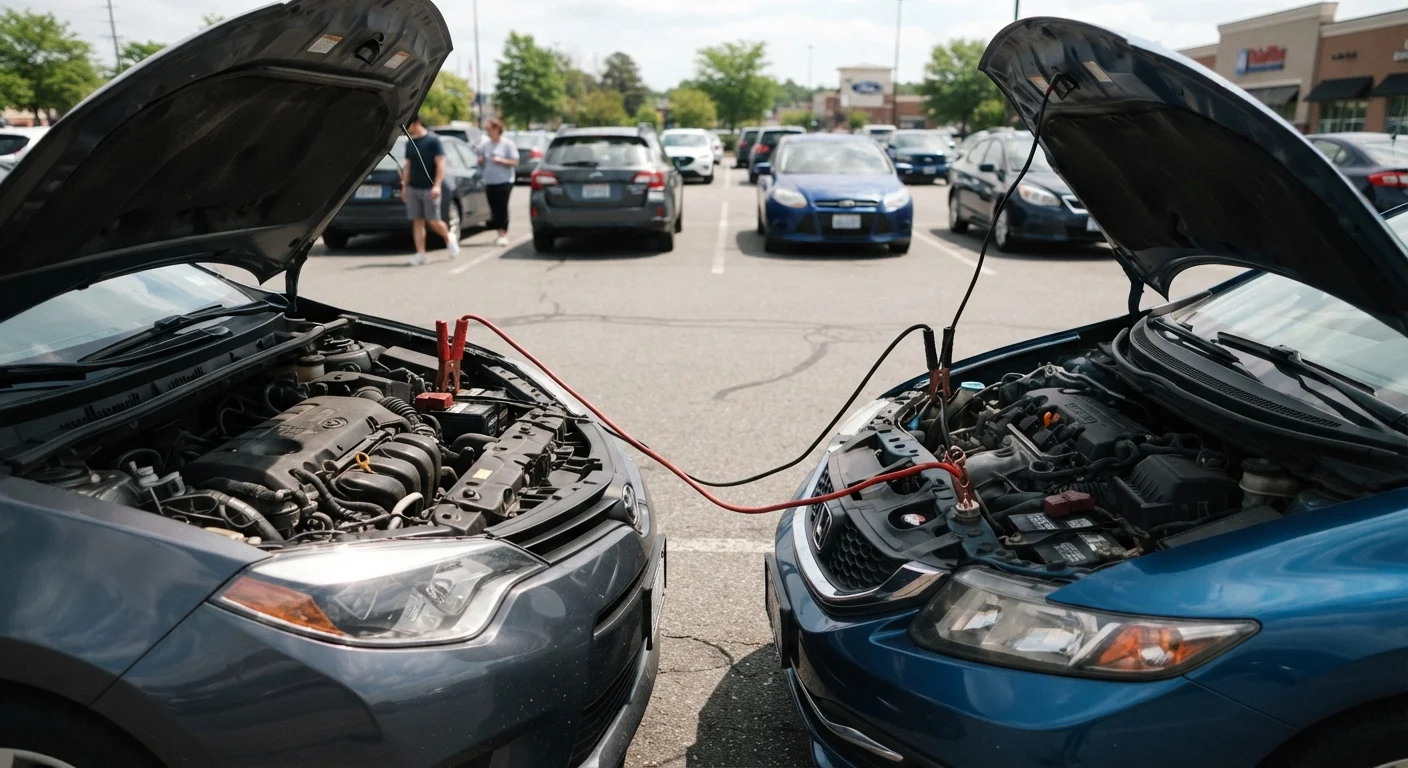
Park the working car so its battery is within cable reach of the dead car's battery - hood-to-hood is the most common setup. Turn off both ignitions completely, and switch off all lights, climate controls, and accessories in both vehicles. This reduces electrical load during the jump and protects sensitive electronics.
Identify the positive and negative terminals
Locate both batteries and identify each terminal. The positive terminal is marked with a plus sign (+) and typically has a red cover or red cable attached. The negative terminal is marked with a minus sign (−) and is usually black. If terminals are corroded (white or bluish powder), gently clean them with a dry rag before connecting - good contact matters.
Connect red cable to dead battery's positive terminal
Attach one red clamp firmly to the positive (+) terminal of the dead battery. Make sure the clamp teeth grip the terminal metal securely - a loose connection won't transfer enough current.
Connect the other red clamp to the good battery
Take the remaining red clamp and attach it to the positive (+) terminal of the charged battery in the working vehicle. You now have a complete positive circuit between the two batteries.
Connect black cable to good battery's negative terminal
Attach one black clamp to the negative (−) terminal of the charged battery. The circuit is becoming live - handle the remaining clamp carefully and keep it away from all battery terminals and painted surfaces.
Attach the final clamp to unpainted metal in the dead car
This step is the most misunderstood. Do not connect the final black clamp to the negative terminal of the dead battery. Instead, clip it to a clean, unpainted metal surface in the engine bay of the dead car - a bolt on the engine block or a metal bracket works well. This grounding point completes the circuit while keeping any spark away from the battery, where flammable hydrogen gas can accumulate.
Start the working car and let it run
Start the engine of the working vehicle and let it idle for two to three minutes. This allows current to flow into the dead battery. If you rev the engine gently (around 1,500-2,000 RPM), it can accelerate the transfer slightly, but steady idling is sufficient in most cases.
Attempt to start the dead vehicle
Try to start the car with the dead battery. If it cranks but doesn't start, wait another minute or two and try again. If it does not respond at all after several attempts, the battery may be too far discharged or there may be an underlying issue beyond a flat battery. In that case, professional assistance is the appropriate next step.
Disconnect cables in reverse order
Once the dead car is running, remove the cables in the exact reverse order of connection:
- Black clamp from the grounding point on the previously dead car
- Black clamp from the negative terminal of the working car
- Red clamp from the positive terminal of the working car
- Red clamp from the positive terminal of the previously dead car
Keep clamps from touching each other or any metal surface throughout removal.
Avoid Jump-Starting a Damaged Battery
Do not attempt a jump-start if the dead battery is visibly cracked, leaking fluid, or has a frozen appearance. A compromised battery can rupture under charge. If the battery looks damaged or smells strongly of sulfur, step back and contact a roadside assistance service instead.
After the Jump: What to Do Next
A successful jump-start doesn't mean your battery problem is solved. The jump only delivered enough charge to start the engine. Your ignition sequence depends on a healthy battery, and right now yours is still depleted.
Drive the car for at least 15-30 minutes - ideally on a highway or arterial road where the engine runs at moderate RPM - to allow the alternator to recharge the battery. Short stop-and-go trips won't do the job. If the battery dies again within a day or two, it likely needs replacement rather than another jump. To understand what shortens battery life and how to spot a failing one early, read our battery care guide.
If jump-starting is a new experience and you're building your car care confidence generally, getting started with car maintenance is a natural next step.