
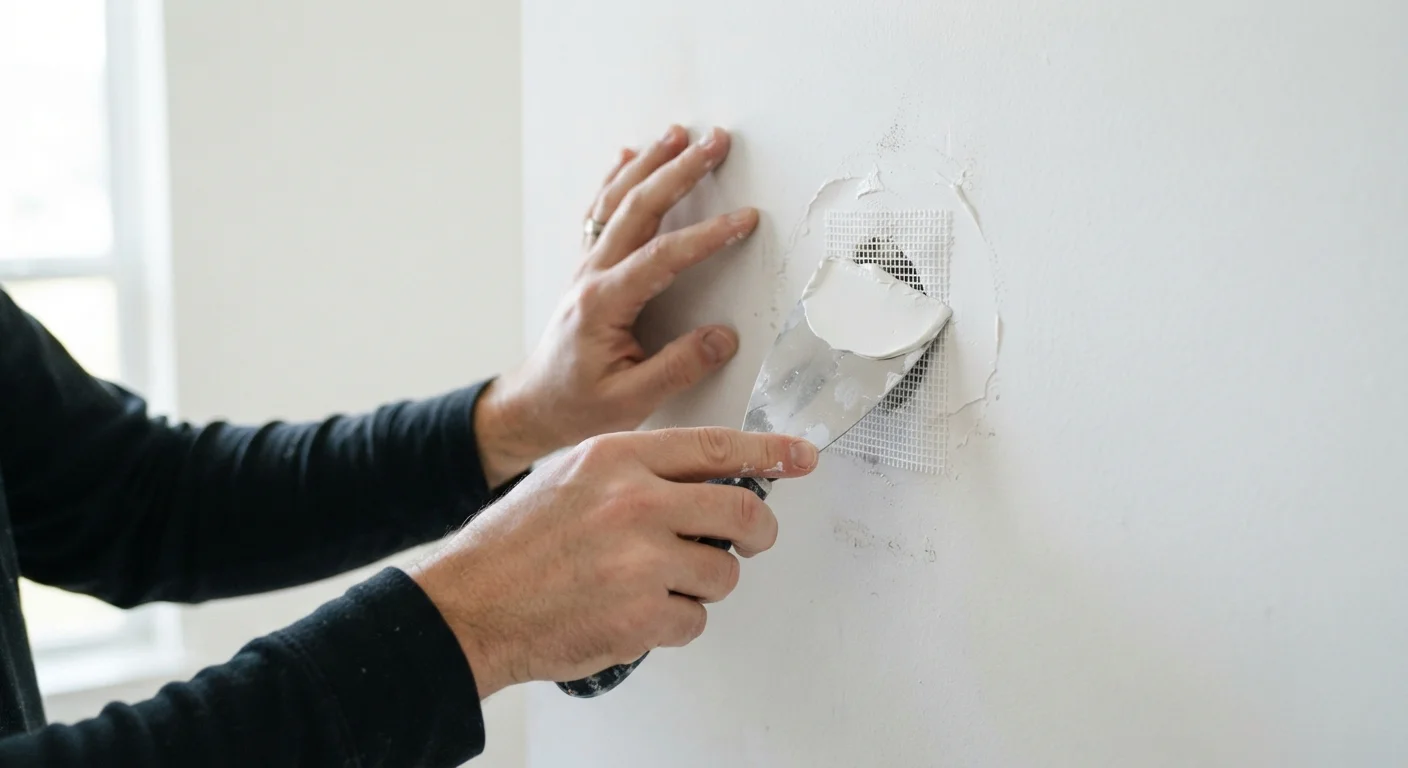
Why Small Holes Happen - and When This Fix Applies
Nail pops, doorknob impacts, and removed wall anchors are the most common sources of small drywall holes in everyday homes. Understanding what drywall is made of and how it works helps you appreciate why it dents easily but also why it patches so cleanly.
This guide covers holes roughly the size of a golf ball or smaller - up to about 4 inches in diameter. Larger damage typically requires a different approach involving a backer board or a cut-in patch, which may warrant professional assessment. If you are uncertain whether your repair falls into a more complex category, a practical framework for deciding when to DIY versus hire a tradesperson can help you make the right call.
What you will need
Tools and Materials You Will Need
Gather everything before you start. Having the right materials on hand prevents mid-project trips to the hardware store and keeps the work moving smoothly.
Self-adhesive mesh patch kit
Covers the hole and provides a rigid base for joint compound to adhere to.
Joint compound (also called drywall mud)
Fills and smooths the patched area; available pre-mixed in small tubs.
Putty knife or drywall knife (4-6 inch)
Spreads and feathers joint compound across the patch surface.
Fine-grit sandpaper (120-150 grit)
Smooths dried compound between coats and before priming.
Drywall primer
Seals the porous compound so paint adheres evenly without flashing.
Sanding sponge
Provides more control than flat sandpaper in tight or curved wall areas.
Dust mask and safety glasses
Protects you from fine drywall dust during sanding.
Check for Hidden Wires Before You Cut
Before trimming or enlarging any hole, verify there are no electrical cables or plumbing running through that wall cavity. Use a stud finder with AC-detection capability or, if in doubt, consult a licensed electrician. This step is especially important near outlets, switches, and exterior walls.
Step-by-Step Patching Instructions
Work through the steps in order. Rushing the drying stages is the most common reason a patch shows through paint, so patience pays off.
Clean and prepare the hole
Use your putty knife or a utility knife to gently trim away any loose, crumbling drywall paper or cracked compound around the edge of the hole. The goal is a clean, firm perimeter - loose edges prevent the patch from bonding properly. Wipe away dust with a dry cloth.
Apply the self-adhesive mesh patch
Peel the backing off the mesh patch and center it over the hole, pressing firmly so all edges adhere flat to the wall. The mesh acts as reinforcement, giving the compound something to grip. For very small holes (nail-sized), you can skip the mesh and apply compound directly - the patch kit is most useful for holes between roughly 1 and 4 inches.
Apply the first coat of joint compound
Scoop a small amount of pre-mixed joint compound onto your putty knife. Spread it over the mesh patch using smooth, diagonal strokes, pressing the compound firmly into the mesh openings. Feather the edges - meaning taper the compound outward so it blends gradually into the surrounding wall rather than ending in a ridge. Aim for a thin, even coat rather than trying to fill everything in one pass.
Let dry completely, then sand lightly
Allow the first coat to dry fully - joint compound turns from gray-white to bright white when dry, which typically takes 2-4 hours depending on humidity and ventilation. Do not rush this. Once dry, lightly sand the surface with 120-150 grit sandpaper to knock down any ridges or brush marks. Wipe away dust with a dry cloth before proceeding.
Apply a second (and if needed, third) coat
Apply a second thin coat of compound, again feathering the edges a few inches beyond the first coat to blend with the wall. Most small patches need just two coats; deeper holes or rougher surfaces may need a third. Let each coat dry and sand lightly between passes. The finished surface should feel flush and smooth to the touch.
Prime and paint the patch
Apply a coat of drywall primer over the sanded, dust-free patch area. Let it dry fully per the primer manufacturer's instructions. Then paint the area with your wall color, blending the paint slightly beyond the repair zone. You may need two paint coats for a uniform finish, especially if the surrounding wall color has aged or faded.
Texture Matching Takes Practice
If your walls have a texture - such as orange peel or knockdown - you will need to replicate it before painting. Spray texture products are available, but practice on cardboard first to dial in the pattern. For heavily textured walls, a small roller can sometimes approximate light texture without specialty products.
Finishing and Painting the Repair
Once the final coat of compound is sanded smooth and dust is wiped away with a damp cloth, apply a coat of drywall primer before painting. Primer seals the porous compound so it does not absorb paint differently from the surrounding wall - skipping this step almost always results in a visible dull spot called flashing.
Match the sheen level of your existing paint (flat, eggshell, satin, or semi-gloss). If you no longer have the original paint, bring a small chip or photograph the wall in natural light to help a paint counter make a close match. After the repair is fully painted and dry, check it under raking light - holding a flashlight at a shallow angle to the wall - to spot any remaining texture differences. Minor imperfections can usually be lightly sanded and touched up. For guidance on whether your walls may be overdue for a broader refresh, see warning signs your home needs a fresh coat of paint.