
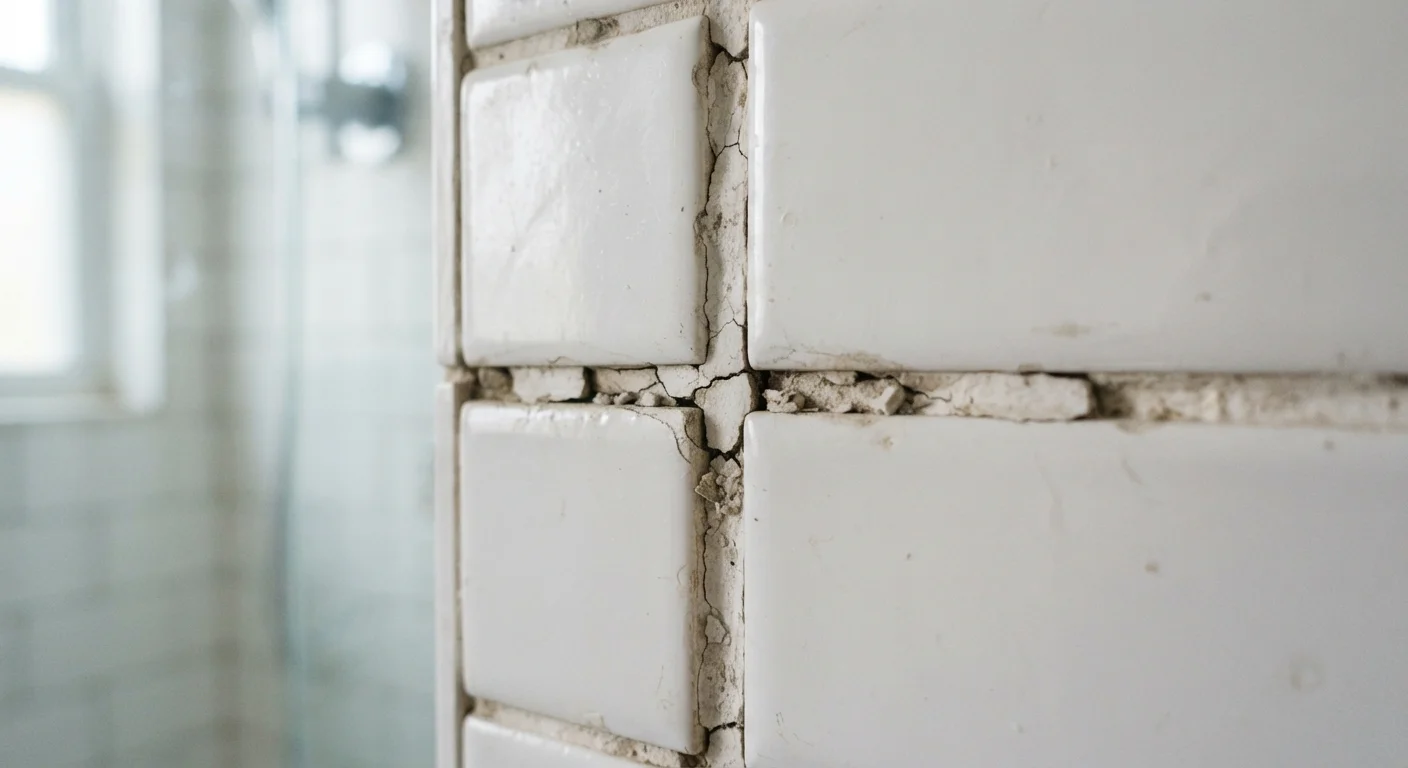
Why Grout Cracks in the First Place
Grout is rigid by nature - it bonds well but doesn't bend. That makes it vulnerable any time the surface beneath it moves. Here are the most common causes:
- House settling and structural movement: All homes shift slightly over time. Even small movements translate into stress on tile joints, and grout is the first material to show it.
- Substrate flex: If floor tiles are installed over a subfloor that isn't stiff enough, the floor flexes underfoot and cracks the grout repeatedly, no matter how many times it's repaired.
- Improper installation: Grout mixed with too much water, applied too thin, or cured too quickly is far more likely to crack. Tiles set without adequate mortar coverage can also shift slightly, breaking the grout seal. Common tiling mistakes - including poor substrate prep - are a leading cause of premature grout failure.
- Using grout where caulk belongs: Corner joints and transitions between planes must accommodate movement. Filling them with rigid grout almost guarantees cracking. Those spots need flexible, waterproof caulk instead.
- Age and normal wear: Even well-installed grout eventually shows its age, especially in high-traffic or wet areas.
Epoxy Grout Is a Different Animal
Standard cement-based grout is the most common type in homes, but epoxy grout - often used in commercial kitchens or on countertops - is far more durable and stain-resistant. Epoxy grout is also non-porous, so it doesn't require sealing. However, it's harder to work with and more difficult to remove if repairs are needed later.
How to Tell If Your Grout Needs Attention
Not every grout flaw is urgent, but these signs indicate it's time to act:
- Visible cracks or gaps running along joint lines
- Crumbling or powdery texture when you press the grout lightly
- Discoloration or dark streaks that suggest moisture or mold beneath
- Hollow sound when you tap nearby tiles - this can mean water has already separated the tile from its backing
- Grout pulling away from tile edges, especially in corners or around the tub
In dry areas like a kitchen backsplash, cracked grout is mostly cosmetic. In a shower, tub surround, or floor with plumbing beneath, it's a moisture risk that compounds quickly.
1-2 years
Recommended grout sealing interval in wet areas
Tile industry guidance generally recommends resealing cement-based grout in showers and tub surrounds every one to two years to maintain moisture resistance.
1/8 inch
Minimum grout removal depth for proper rebonding
Tile installation guidelines indicate that new grout needs at least 1/8-inch depth of cleared joint to bond correctly and resist future cracking.
Regrouting: What the Repair Process Looks Like
For a small area with isolated cracks and solid tiles, regrouting is a realistic DIY project. The general steps are:
- Remove the damaged grout. Use a grout saw or oscillating tool to clear out the cracked material to roughly 1/8-inch depth. Work slowly to avoid nicking tile edges.
- Clean the joint. Vacuum debris and wipe the area clean. Any remaining old grout will prevent the new material from bonding properly.
- Mix and apply new grout. Follow the manufacturer's mixing instructions closely - too much water weakens the finished product. Work the grout into the joints with a rubber float held at a 45-degree angle.
- Clean and cure. Wipe the tile surface with a damp sponge before grout fully hardens, then allow full curing - usually 24-72 hours - before exposing the area to water.
- Seal the grout. Once fully cured, apply a penetrating grout sealer to cement-based grout in wet areas. This step significantly extends its lifespan.
Match Your Grout Type to the Job
Sanded grout is designed for joints wider than 1/8 inch; unsanded grout is used for narrower joints and on polished stone that sanded grout could scratch. Using the wrong type can cause adhesion problems and premature cracking. Check your tile joint width before purchasing replacement grout.
If the underlying cause of cracking - like an insufficiently stiff floor - isn't addressed, the new grout will crack again. Fix the root problem first whenever possible.
Preventing Grout Cracks Going Forward
Good habits after a repair can meaningfully extend how long your grout holds up:
- Use flexible caulk (not grout) at all inside corners and transitions - see our full explanation on caulk vs. grout for guidance on which material belongs where.
- Reseal cement-based grout in wet areas every one to two years.
- Address any persistent leak sources, drainage problems, or subfloor flex before retiling.
- Inspect grout lines annually in bathrooms and kitchens and touch up minor cracks before they worsen.
Grout repair is straightforward when caught early. The cost of ignoring it - damaged backer board, rotted subfloor, or loosened tiles - is considerably higher than an afternoon of patching work.