
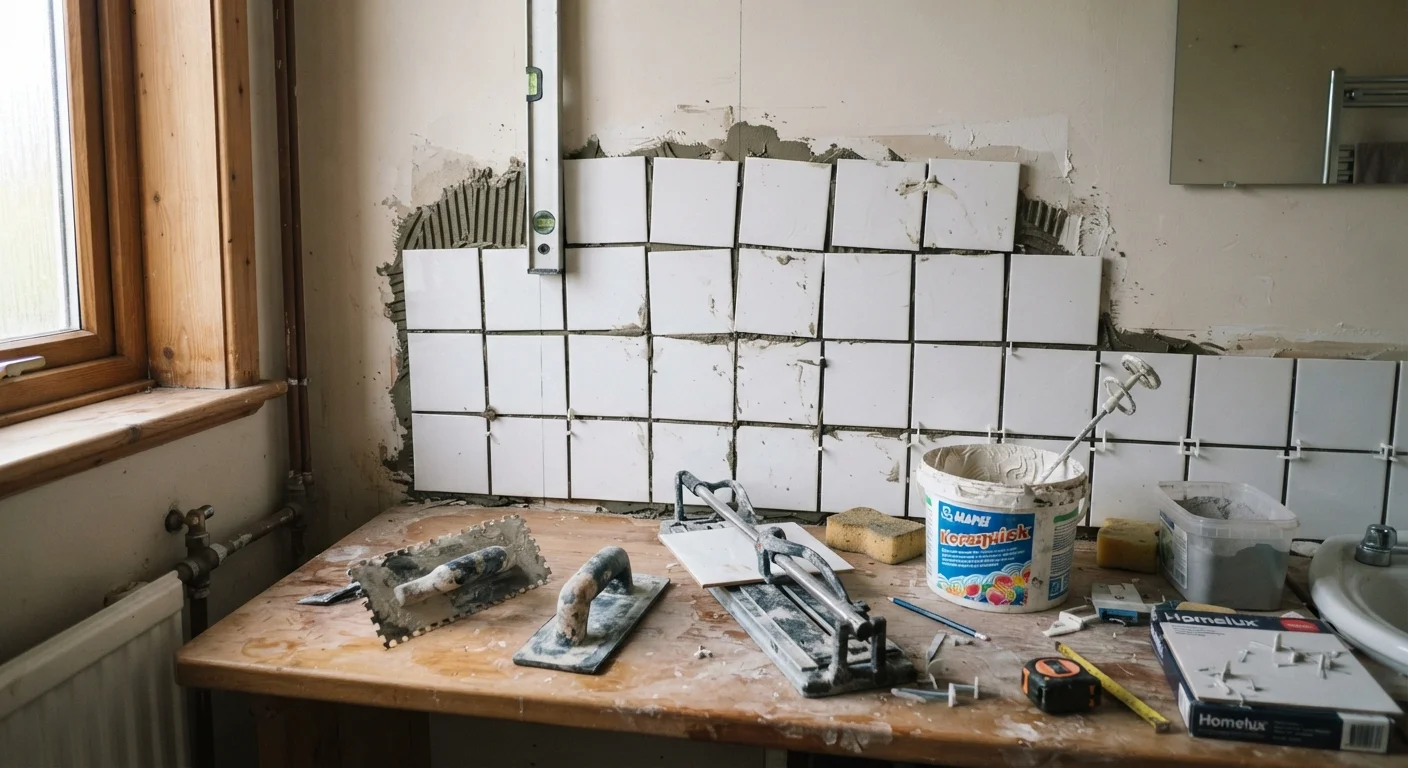
Why Bathroom Tiling Goes Wrong More Often Than You'd Think
Bathroom tile projects look deceptively straightforward - set some tile, fill in the gaps, done. But tiling is one of those home improvement tasks where small missteps compound quickly. A wall that isn't flat, adhesive that isn't right for a wet environment, or grout that's disturbed before it cures - any one of these can turn a weekend project into a repair job months later.
Understanding why these failures happen puts you in a much stronger position than simply following a how-to checklist. The mistakes below are among the most common reported by homeowners who've tackled bathroom tile themselves. Knowing the root causes helps you catch problems before they're set in stone - literally.
Skipping surface preparation and tiling directly over an uneven or damaged substrate.
Why it happens: Homeowners are often eager to see visible progress and underestimate how much the substrate affects the finished surface. Walls that look flat to the eye can have enough variation to cause lippage (where tile edges sit at different heights).
Using the wrong adhesive or mortar type for the application.
Why it happens: Not all thinsets and mastic adhesives are equal. Some homeowners grab whatever is on the shelf, unaware that mastic adhesive, for example, is not suitable for wet or submerged areas and can break down with prolonged moisture exposure.
Not planning the tile layout before setting any adhesive.
Why it happens: It's tempting to start from one corner and work outward, but this approach often results in awkward, narrow tile cuts at the most visible edges of the room.
Disturbing grout or tile before adhesive and grout have fully cured.
Why it happens: Grout looks dry within hours, which can mislead people into resuming normal bathroom use too quickly. But grout - and the thinset underneath - needs adequate time to cure fully, especially in cooler or less-ventilated spaces.
Leaving too little or inconsistent spacing between tiles.
Why it happens: Inconsistent hand pressure and drifting spacers - or skipping spacers altogether - cause grout lines to vary in width. Tiles also need room to accommodate slight movement from temperature fluctuation.
How to Set Your Project Up for Success
Most tiling failures share one trait: they start before a single tile is laid. The preparation phase - checking surfaces, choosing the right materials, and planning the layout - is where the real work happens.
Don't Tile Over Existing Tile Without Checking First
Tiling over existing tile is sometimes done to save time, but it's only appropriate when the existing tiles are fully bonded, the surface is flat, and the added thickness won't create problems with doors, thresholds, or fixtures. Any loose, cracked, or hollow-sounding tiles underneath must be removed first. Adding weight and height without verifying structural suitability can create bigger problems than starting fresh.
Start by checking your walls and floor for flatness using a long straightedge. Any variation greater than about 1/4 inch over a 10-foot span should be corrected before tiling. In wet zones like shower walls, cement board or a comparable water-resistant backer is generally required - drywall, even moisture-resistant drywall, is not a suitable substrate behind a shower.
Layout planning is equally critical. Dry-lay (arrange without adhesive) your tiles across the full surface to visualize the pattern, confirm grout line spacing, and identify where cuts will fall. Aim to avoid narrow slivers at the most visible edges. Mark your center lines before you mix any adhesive.
Choosing materials correctly matters too. For wet areas, use a polymer-modified thinset mortar rated for the tile size and substrate you're working with. For grout, check that your joint width matches the grout type - unsanded grout is typically used for joints under 1/8 inch; sanded grout handles wider joints. And be sure you understand where caulk belongs versus grout, particularly at corners, transitions, and changes in plane - confusing the two is a surprisingly common source of cracked joints and moisture intrusion.
It's also worth separating renovation fact from fiction before you start. Some widely held beliefs about home upkeep can quietly lead you into bad habits - see our look at home maintenance myths that could cost you for a broader reality check.