
Why Germination Fails More Often Than You'd Expect
Watching a seed tray stay stubbornly bare is one of the most discouraging experiences for a new gardener. The good news: failed germination almost always traces back to a small number of controllable factors - not bad luck. If you are just getting started, our beginner's garden roadmap covers the broader context of setting up for success before you sow a single seed.
Seeds are not passive objects. They respond to specific environmental cues - warmth, moisture, oxygen, and sometimes light - before they commit energy to sprouting. When even one of those conditions is off, germination stalls or fails entirely. Understanding which cue is missing is the fastest route to fixing the problem.
50%+
Germination rate drop from old seeds
Seed viability studies generally show that many vegetable seeds lose more than half their germination capacity within two to three years of their pack date if stored improperly.
60-75°F
Ideal soil temperature range for most seeds
University cooperative extension resources consistently identify this soil temperature window as optimal for germinating the majority of common vegetable and annual flower seeds.
The Most Common Mistakes - and How to Fix Them
The errors below account for the vast majority of germination problems home gardeners encounter. Each one is preventable once you know what to look for.
Planting seeds at the wrong depth.
Why it happens: Beginners often guess at depth or push all seeds to a uniform depth regardless of size. Small seeds buried too deep exhaust their energy reserves before reaching light.
Watering too much or too little after sowing.
Why it happens: New gardeners tend to either neglect watering, letting the seedbed dry out, or over-compensate with daily heavy soaking that suffocates seeds.
Sowing at the wrong time of year for your climate.
Why it happens: Seed packets often list calendar dates that assume a specific climate zone, which may not match where you live. Sowing too early in cold regions or too late in hot ones sets seeds up to fail.
Using poor-quality or compacted potting mix.
Why it happens: Garden soil dug straight from a bed or reused old compost can compact in trays, reducing airflow and drainage - two things seeds need to germinate.
Ignoring light requirements after germination.
Why it happens: Once seeds sprout, many beginners leave seedlings on a dim windowsill assuming any light is enough. Insufficient light causes weak, leggy growth that often collapses.
Check Seed Packet Dates Before Planting
Seeds have a shelf life. Using seeds that are several years past their pack date dramatically reduces germination rates, sometimes to zero. Always check the 'packed for' or 'use by' date on your seed packet before sowing, and store unused seeds in a cool, dry, dark place to preserve viability.
Setting Your Seeds Up for a Better Start
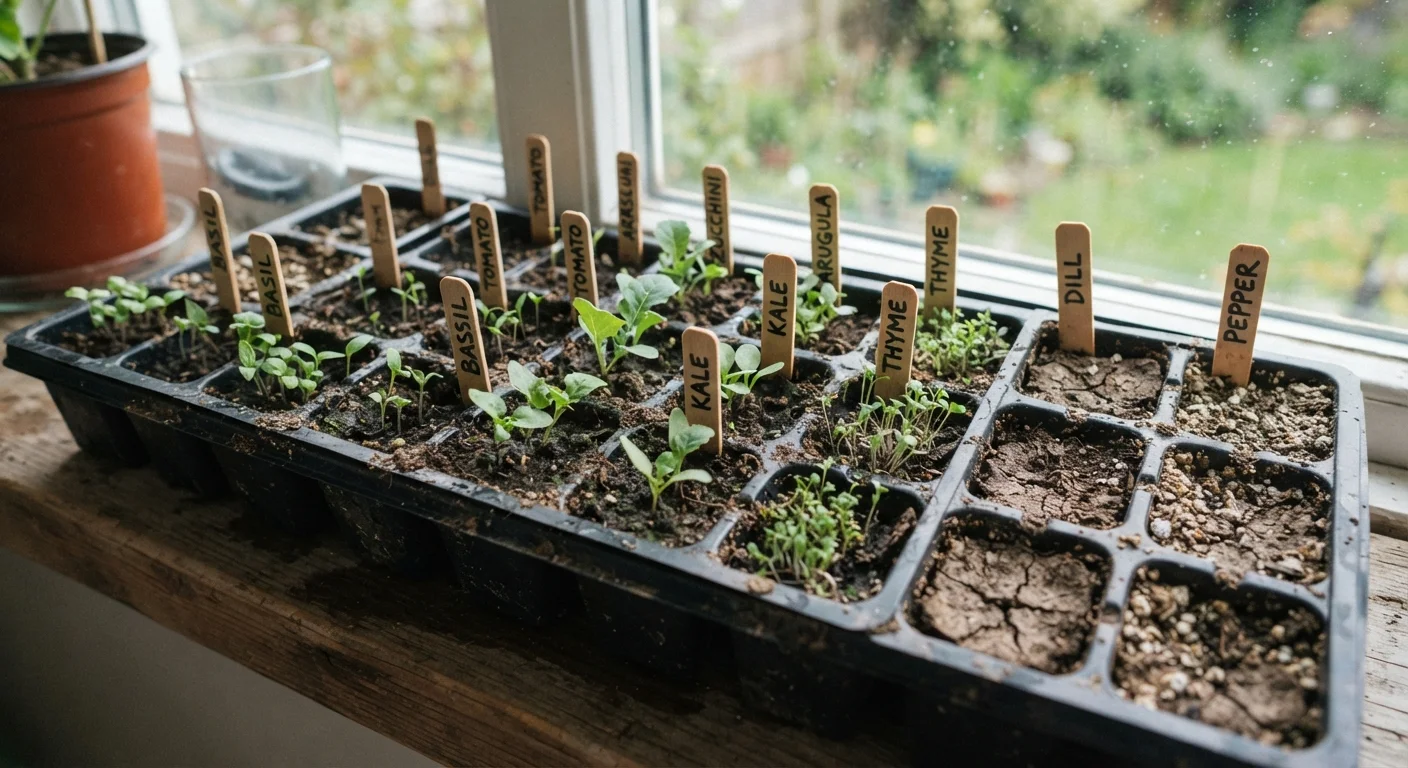
Once you have addressed the common pitfalls above, a few additional habits will noticeably improve your results. Label every row or tray immediately after sowing - memory is unreliable, and mixed-up seedlings are frustrating to untangle. Keep a simple journal noting sow dates, soil temperature, and germination timing; this becomes a valuable personal reference over seasons.
Cold Soil Stalls Germination Completely
Most vegetable and flower seeds need soil temperatures between 60°F and 75°F to sprout reliably. Sowing into cold spring soil - even when air temperatures feel warm - can keep seeds dormant for weeks until soil warms up, or cause them to rot. Use an inexpensive soil thermometer to check before you sow.
If outdoor conditions are not cooperating, starting seeds indoors gives you full control over warmth and moisture during the critical first days. If you eventually want to make the most of limited outdoor space, our guide on growing vegetables in small spaces explains how to manage seedlings in containers and compact beds once they are ready to transplant.
Germination rarely requires expensive equipment or expert skill - it mainly requires attention to a few basic conditions. With the right preparation, most seeds will do exactly what they are designed to do.