
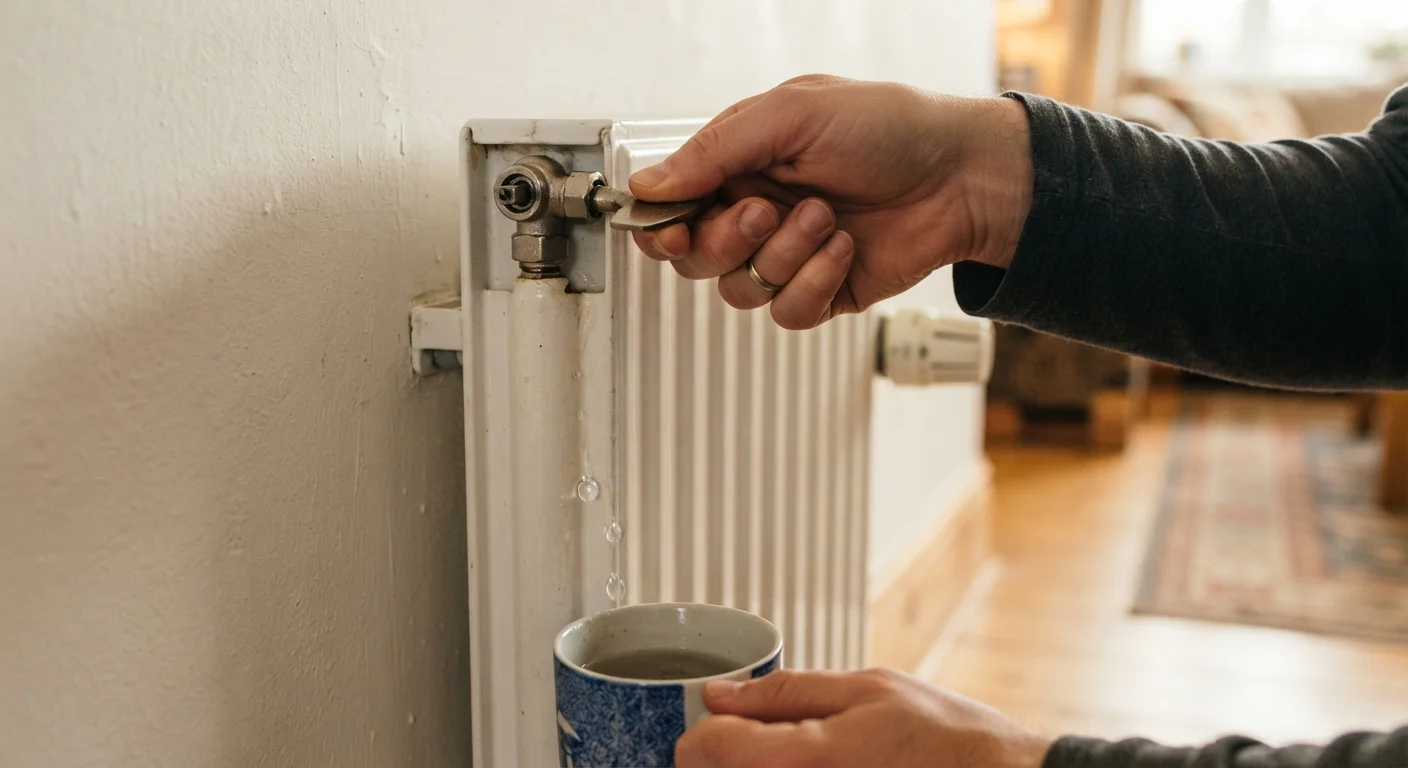
What Does Bleeding a Radiator Actually Mean?
When a central heating system circulates hot water through radiators, air can gradually become trapped inside. That air sits at the highest point of the radiator - usually the top - and creates a pocket that hot water cannot fill. The result is a radiator that feels warm at the bottom but noticeably cooler or completely cold across the top.
Bleeding a radiator simply means opening a small valve (called the bleed valve) to let that trapped air escape, so water can fill the full volume of the radiator again. It is one of the most common and straightforward home maintenance tasks, and doing it regularly helps your heating system run more efficiently.
Air enters the system in several ways: dissolved gases can come out of solution over time, small amounts of air enter during maintenance or refilling, and certain system faults can accelerate the process. You do not need to identify the exact cause to fix the symptom - bleeding is the standard first response.
Bleed Radiators at the Start of Each Heating Season
A good habit is to check and bleed radiators once a year before turning your heating on for winter. Catching trapped air early means your system heats up efficiently from the start of the cold season, rather than running inefficiently for weeks before you notice a problem.
Signs Your Radiators Need Bleeding
Before reaching for your bleed key, confirm that bleeding is actually what the radiator needs. Run your heating for at least 15 minutes, then carefully feel across the surface of each radiator (do not touch if they are very hot - observe with care).
- Cold at the top, warm at the bottom: The clearest sign of trapped air.
- Patchy warmth across the whole panel: Can indicate air pockets at multiple points.
- Gurgling or trickling noises: Air moving through water inside the radiator.
- The whole radiator stays cold despite the boiler running: May be air, but could also be a closed lockshield valve or a more significant issue - check the valve positions first.
If every radiator in your home is cold, the issue is more likely a boiler or pump problem rather than trapped air. In that case, contact a qualified heating engineer rather than attempting to bleed all radiators as a fix.
Whole-System Cold? Don't Start Bleeding
If all your radiators are failing to heat up, the problem is unlikely to be trapped air. A faulty pump, a tripped boiler, or a frozen condensate pipe are more probable causes. Bleeding radiators in this situation will not help and may lower your boiler pressure unnecessarily. Contact a licensed heating professional to diagnose the issue.
What You'll Need
Gather these items before you begin:
Radiator bleed key
Fits into the square socket of the bleed valve to open and close it.
Old cloth or towel
Placed beneath the valve to catch water drips and protect flooring.
Small container or cup
Catches the water released when the air has fully escaped from the radiator.
Flathead screwdriver
Can substitute for a bleed key on some older radiator valve designs with a slotted head.
What you will need
How to Bleed a Radiator: Step by Step
Work through each radiator that showed cold spots, starting with the one furthest from your boiler and working closer. This order helps push air out of the system more methodically, though it is not strictly essential for a single radiator.
Turn Off Your Heating and Let It Cool
Switch off your central heating at the thermostat or boiler and wait at least 30-60 minutes for the radiators to cool down. Working on a hot radiator risks scalding from steam or pressurised hot water when the valve is opened.
Locate the Bleed Valve
The bleed valve is a small square-headed or slotted plug found at the top corner of the radiator - usually on one end. It looks like a small metal nipple with a square socket in the centre. This is where you insert the bleed key.
Position Your Cloth and Container
Place an old cloth or towel directly beneath the bleed valve and hold a small container (such as a cup or jar) nearby. Even after the system has cooled, a small amount of discoloured water will escape when the air has cleared - this is normal but can stain floors or carpets.
Insert the Bleed Key and Open the Valve
Insert the bleed key into the square socket on the bleed valve. Turn it slowly counterclockwise - usually just a quarter to half a turn is enough. You should hear a hissing sound as trapped air escapes. Do not fully remove the valve; just crack it open.
Wait for Steady Water Flow, Then Close the Valve
Keep the valve open until the hissing stops completely and a thin, steady trickle of water flows out without any spluttering. This indicates that all the trapped air has escaped and water has filled the space. At that point, turn the key clockwise to close the valve firmly - do not overtighten.
Repeat on Other Radiators as Needed
Move to the next radiator that showed cold spots and repeat the process. Once you have bled all affected radiators, check your boiler pressure gauge before switching the heating back on (see the section below).
After You've Finished: Checking Boiler Pressure
Releasing air from radiators reduces the overall volume of fluid in your system, which can cause boiler pressure to drop. Most sealed central heating systems operate correctly between 1 and 1.5 bar when cold - check your boiler's manual for the exact recommended range, as this varies by model.
Locate the pressure gauge on your boiler (it is usually a dial or a digital display on the front panel). If the pressure has fallen below the recommended minimum, you will need to top up the system using the filling loop - a braided hose typically found beneath the boiler. Consult your boiler's manual for the correct filling procedure, as the exact method differs between manufacturers. If you are unsure or the pressure continues to drop after refilling, contact a registered Gas Safe engineer (in the US, a licensed HVAC technician) to inspect the system.
This article provides general home maintenance information only. For any work involving your boiler, gas supply, or pressurised heating system, always consult a qualified and licensed professional.